
Adding images to a word document is an excellent way to illustrate vital information and add decorative accents to a text. When moderately used, images can enhance the overall appearance of your word document.
Microsoft Word provides its users with various text wrapping options, which makes it straightforward to insert an image and achieve the perfect look you desire for your document. However, the text wrapping options can get a bit confusing, especially for new users.
This article will explain all you need to know about wrap text, the layout options, and how applying the options affects the image and the surrounding text. You can use both the old and new Microsoft Word versions for text wrapping your word document.
What Is Text Wrapping in Microsoft Word?
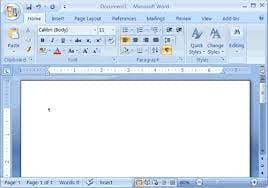
Let's begin by discussing the meaning of text wrapping in Microsoft Word before going into the processes involved. Text wrapping refers to how an image is placed in relation to the text in a document.
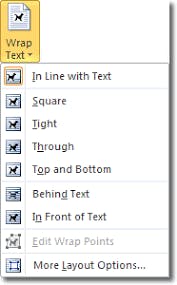
Image credit: Microsoft Office Tutorials
Wrap text features can be applied to figures in Microsoft word documents. Figures in Microsoft Word refer to any visual object except equations an tables, so you can use these features for images, charts, ClipArt objects, SmartArt objects and diagrams.
Before going into detail on how to control wrap text options, we first need to talk about how to insert an image in your Word document.

How to Insert an Image in Your Document
When you want to insert an image into your document, follow the following steps:
- Put the insertion point at the exact location you want the picture to appear.

Image credit: GCFGlobal
- Click on the insert tab and select the required picture option among the options in the illustrations group.
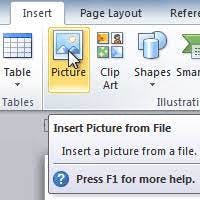
Image credit: GCFGlobal
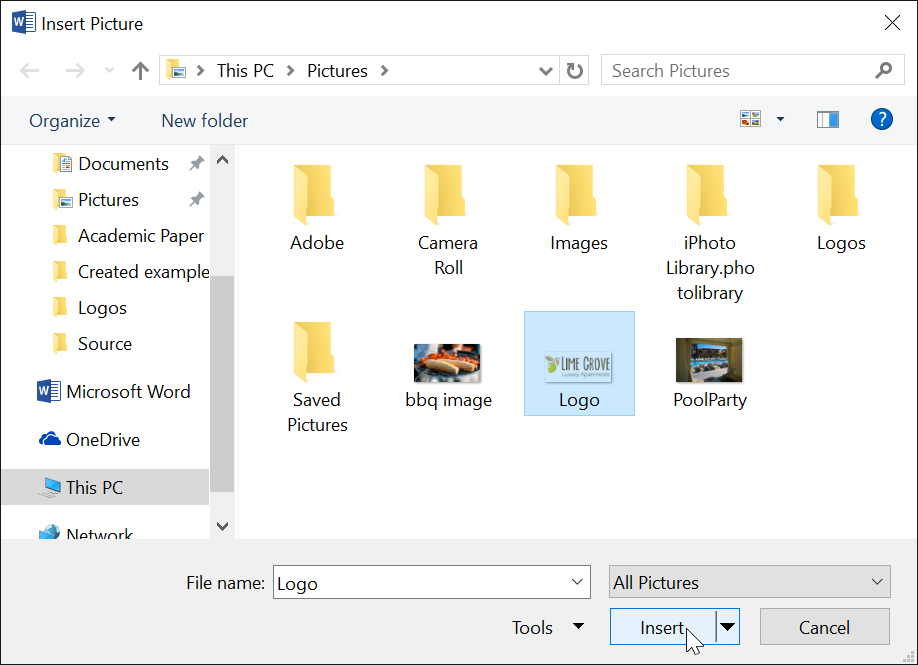
- The dialogue box of the insert picture tool will then appear. Find your way to the folder that contains the desired image, select the image and click on insert.
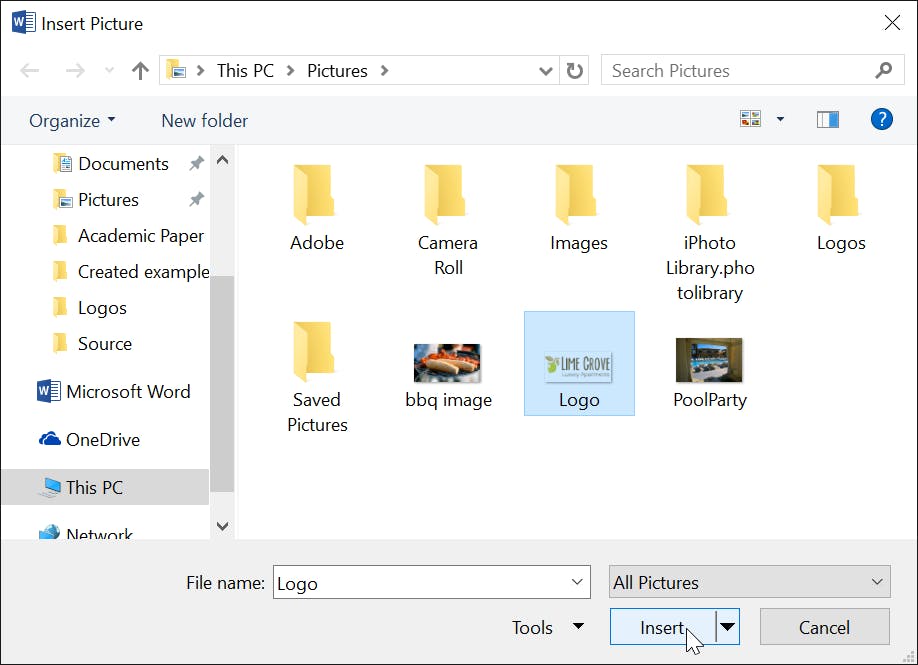
Image credit: GCFGlobal
- The image will come into view in the document.

Image credit: GCFGlobal
If you want to resize the picture, click on one of the corner sizing handles and drag it to the image size you want while maintaining the same proportions. Drag the side sizing handles when you want to extend the image vertically or horizontally.

Image credit: GCFGlobal
Accessing Text Wrapping Options in Microsoft Word
Microsoft Word positions any image you insert into your document at the insertion point, but you can control the image's position. The most straightforward method of changing the picture's position is to drag it. A crucial thing to note is that the text wrapping options in the position dropdown menu are identical to the text wrapping options.
Ways You Can Access Text Wrapping Options
You can gain access to the text wrapping options in three ways:
- Choose the image and click the layout options tip on the right side.
- With the chosen image, click on the contextual format tab and the wrap text command in the arrange group.
- Right-click the image and select text wrapping from the submenu.
Inserting Online Pictures
If the picture you desire is not saved on your computer, you can search for a picture online to include in your document. Microsoft Word provides two options for inserting online pictures.
- OneDrive: You can insert images that are saved on your OneDrive. You can also link your other online accounts, like Flickr and Facebook, with your Microsoft account.
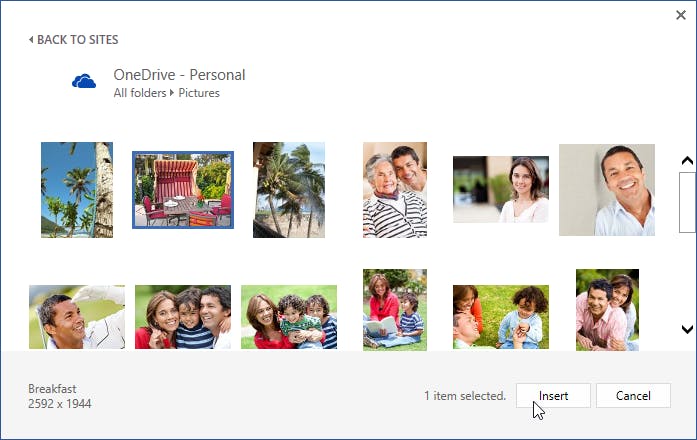
Image credit: GCFGlobal
- Bing Image Search: This option can be used to search the Internet for pictures. By default, only pictures that are licensed under Creative Commons are shown by Bing, meaning you can use the images for your personal projects. However, ensure you click on the pictures website links to confirm whether there are any restrictions on how you can use the images.
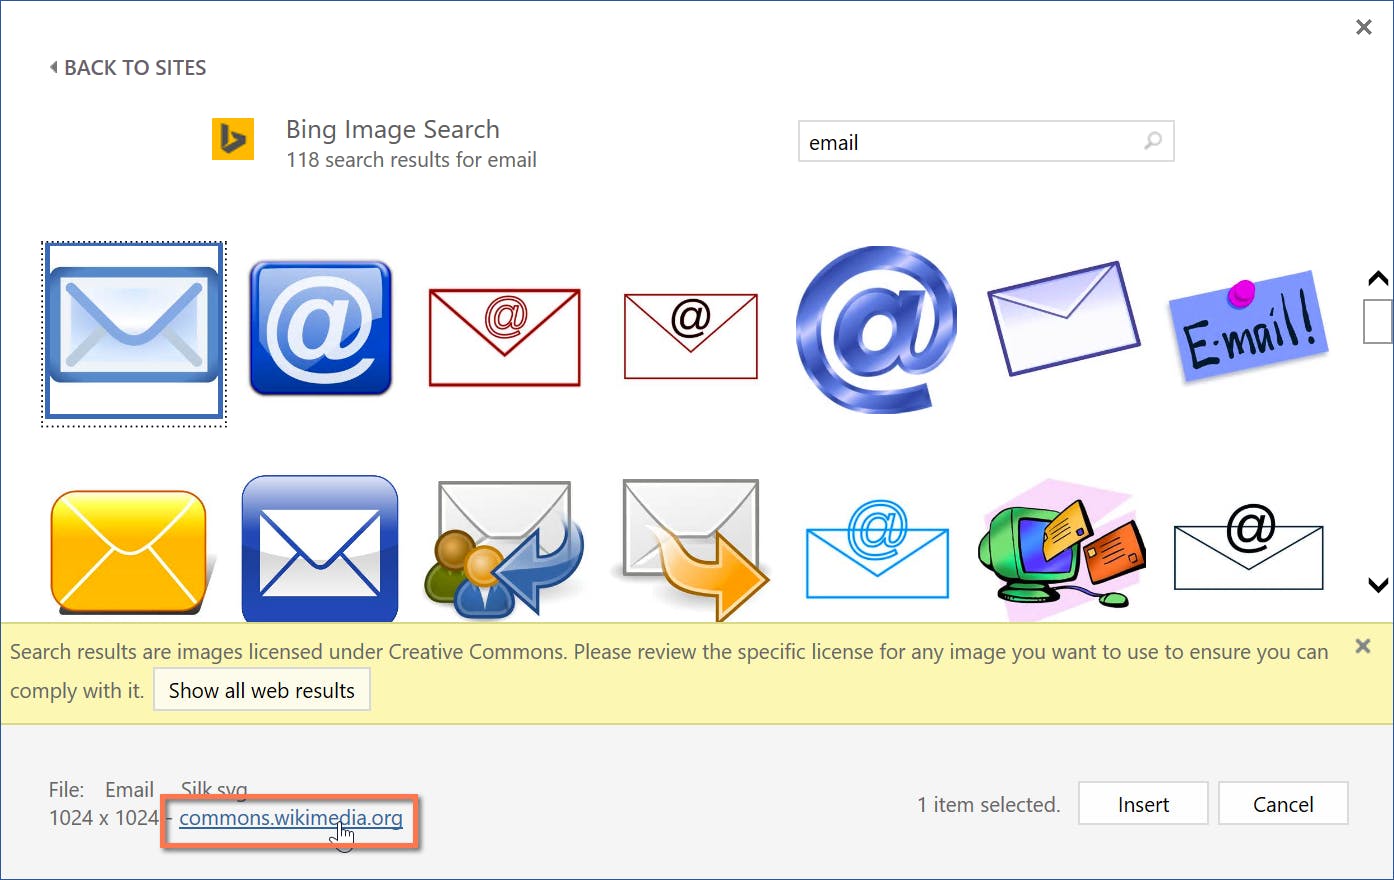
Image credit: GCFGlobal
Text Wrapping Options in Microsoft Word
There are several text wrapping options, and they all have unique meanings and features. Let's review each of the options.
In Line With Text

Image credit: TechRepublic
The ‘In line with text’ wrap option is the default text wrapping setting that Word applies whenever you insert an image. In the image above, the picture was inserted in the midst of a sentence in-between the words video and you. The image appeared within the text and displaced the row height.
Imagine it is a word with an enormous font size rather than a picture. The best way you can become acquainted with this text wrap option is to probe it. So, try dragging the image to other points in between words and to the ending or beginning of a paragraph.
Square
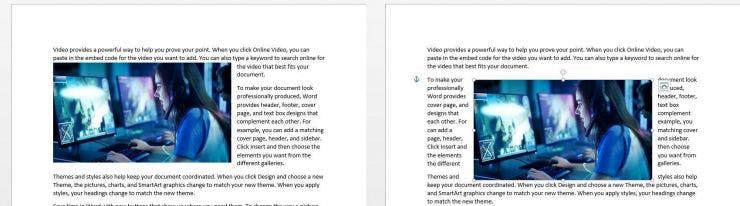
Image credit: TechRepublic
The ‘Square’ option wraps text around an image in a square pattern. Moving the image makes the surrounding text move to accommodate the image on both sides. The square option is the most common type of text wrapping.
The image above shows the image in two varying locations, but they both use the square option.
Top and Bottom
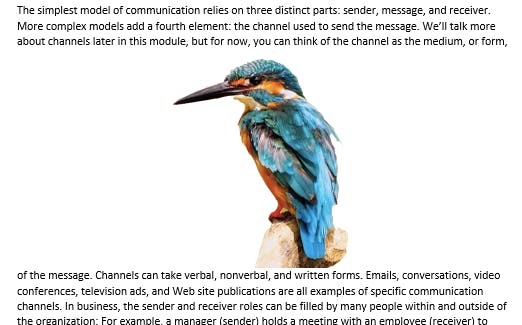
Image credit: Lumen Learning
The top and bottom option is quite self-explanatory. It does not allow any text wrapping around the image and restricts the text to the top and bottom of the image, as displayed above. The size and position of the image does not make any difference to the surrounding text. This option is most useful for big images that take up the majority of the page's width.
Tight
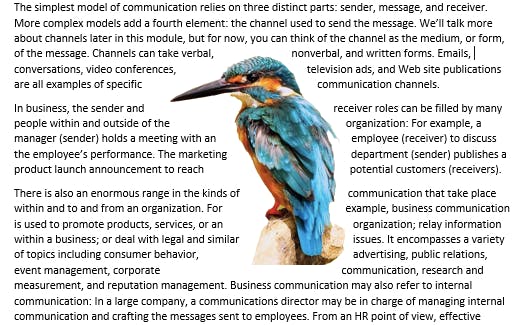
Image credit: Lumen Learning
The tight option wraps the surrounding text at a uniform distance between the image's edges. The option is more evident with irregularly shaped images like the one above. The tight option flows and wraps around the shape of the picture. When using this option with a rectangular or square object, it appears similar to the square option.
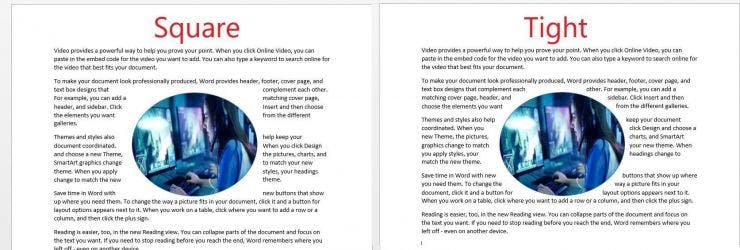
Image credit: TechRepublic
You can acquire more control by utilising the other layout options in the wrap text drop-down menu. For example, you can use the distance from text settings to loosen or tighten the white space.
Behind Text
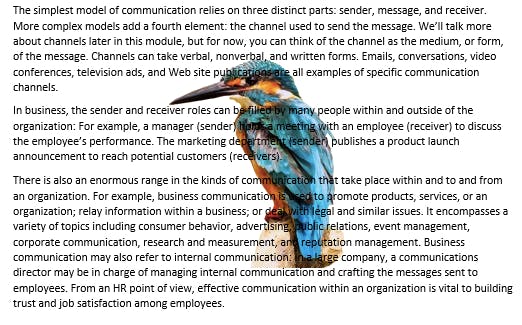
Image credit: Lumen Learning
The behind text option positions the picture behind the text, and it can be a fascinating effect when used correctly and in the right situation. For example, in the image above, the picture is quite sharp, making some parts of the text difficult to read. You can use the ‘More Layout Options’ to reduce the contrast or increase the transparency of the picture. You can also use other artistic effects to harmonise the picture and the text.
Through
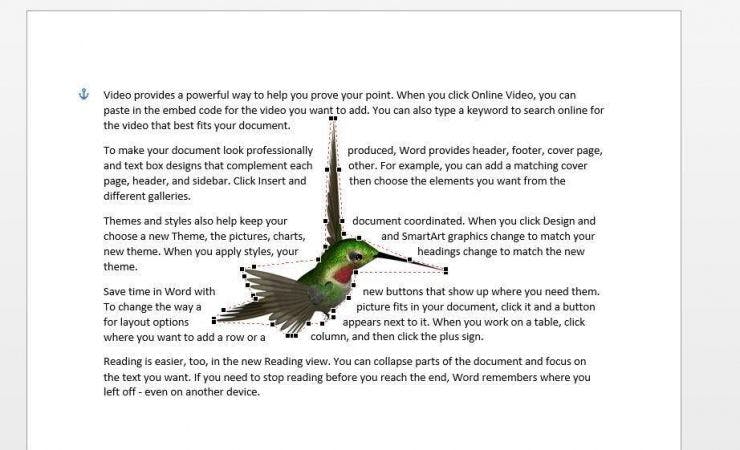
Image credit: TechRepublic
The ‘through’ wrap text option is slightly similar to the ‘tight’ option; however, you can manipulate the edit points. The edit point is characterised by a tiny black square that can be dragged to alter the shape's margin, as shown in the image above.
After applying the through option, select edit wrap points from the dropdown, which will display the edit points. Altering a few points can allow you to tighten the surrounding text slightly or remove it from some areas to create more white space. You can also edit the wrap points with other text wrap options.
In Front of Text
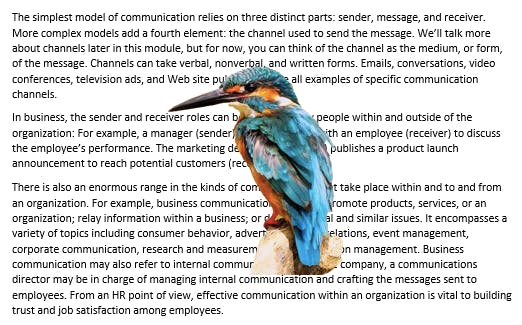
Image Credit: Lumen Learning
This wrap text option moves the picture forward and conceals the text behind it, as shown above. This option is rarely used due to its obstructive nature.
Additional Options
There's an extra option that influences the manner other contents relate to the picture. You can find this option on the same wrap text dropdown by selecting ‘More Layout Options’. The image below shows these options.

Image credit: TechRepublic
The image below illustrates the picture with the Left only option and the Through wrap option. There is an absence of text on the right side of the picture.
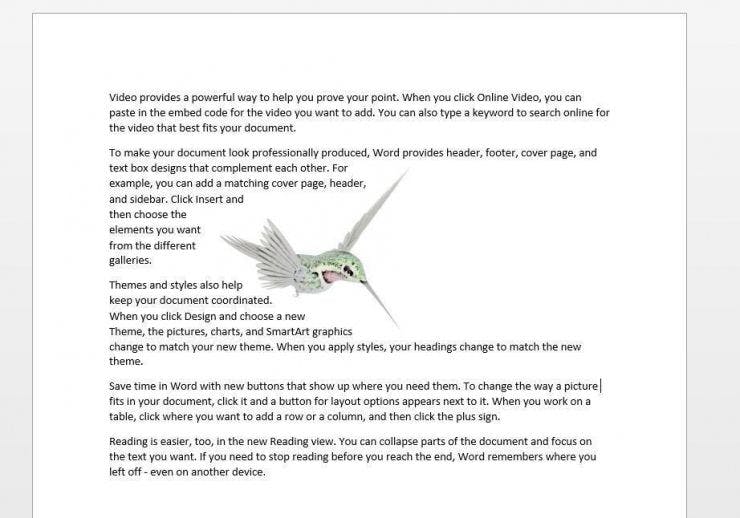
Image credit: TechRepublic
To Wrap It Up
Text wrapping in Microsoft Word makes it possible and easy to add pictures to your document. With the different text wrap options, you can choose which style best suits your document. For instance, you can use the top and bottom style of inserting images for a clear understanding of both the image and the text. Options like in front of text should rarely be used because it makes it hard for readers to see the text behind the image.


